


Featured Comment
I recommend this dish to anyone! I fed it to my family last Saturday and everyone was wide eyed impressed. That little lemon pop and the crispy crackly coating is absolutely to die for!
– @rodmund83 (from YouTube)
Can chicken breast actually become as juicy and crispy as traditional chicken thigh karaage? While chicken wings karaage and chicken katsu rely on fattier cuts for forgiveness, this recipe cracks the code for lean breast meat.
Ready to master the art of never-dry chicken breast karaage?
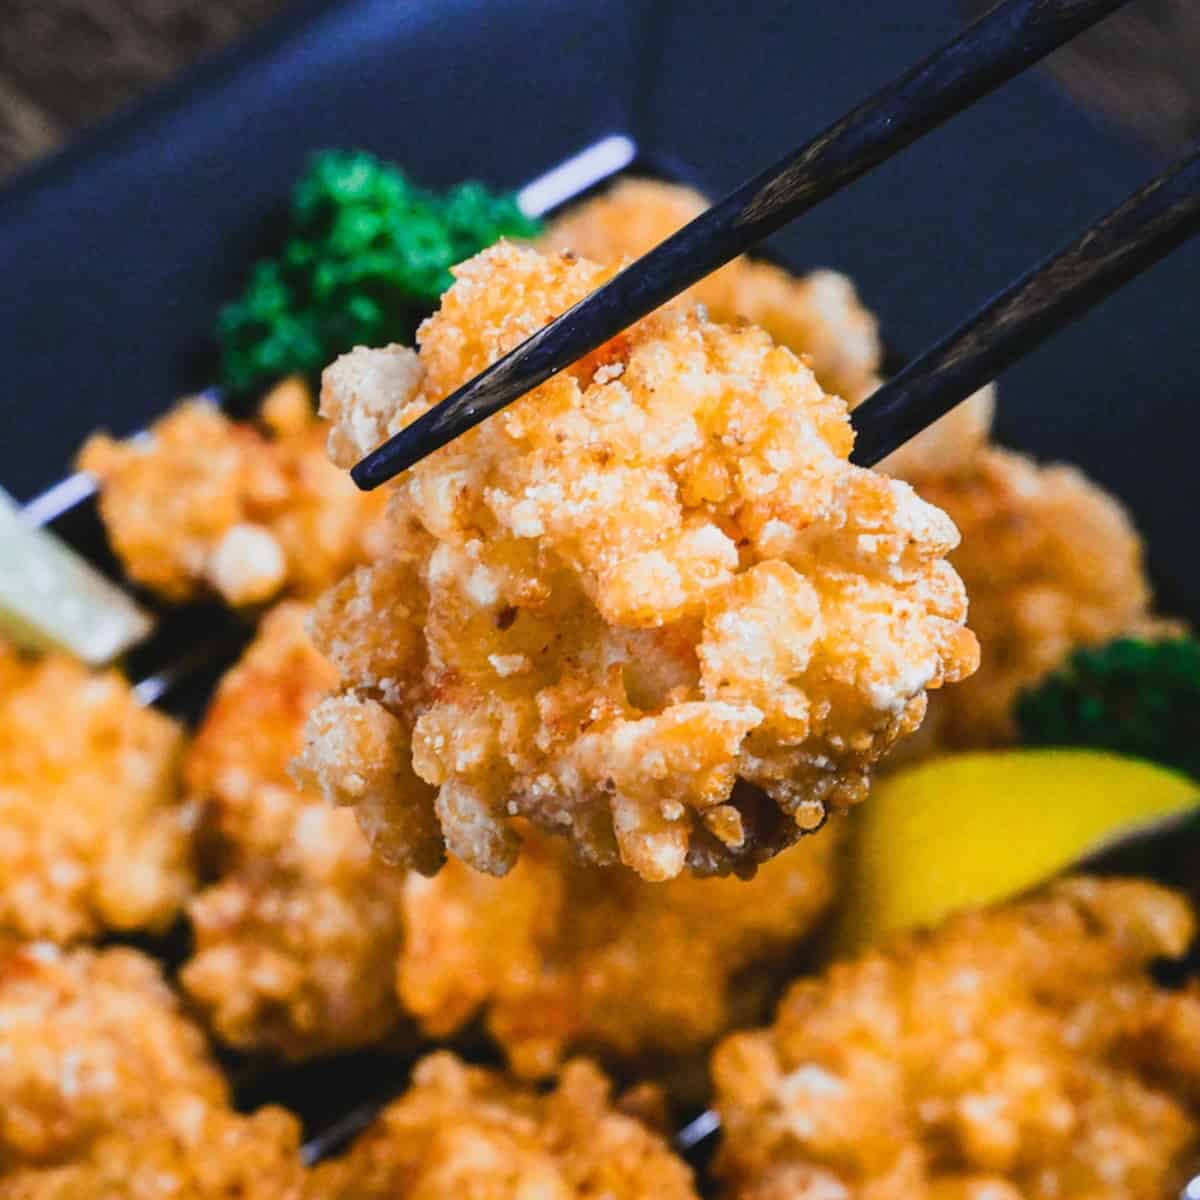
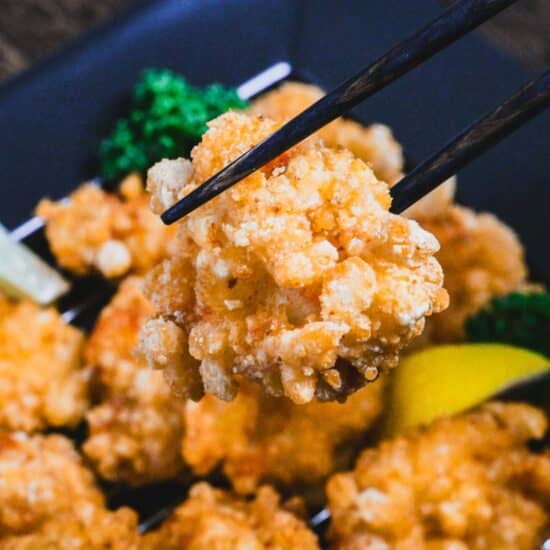
Chicken Breast Karaage
Recipe Snapshot
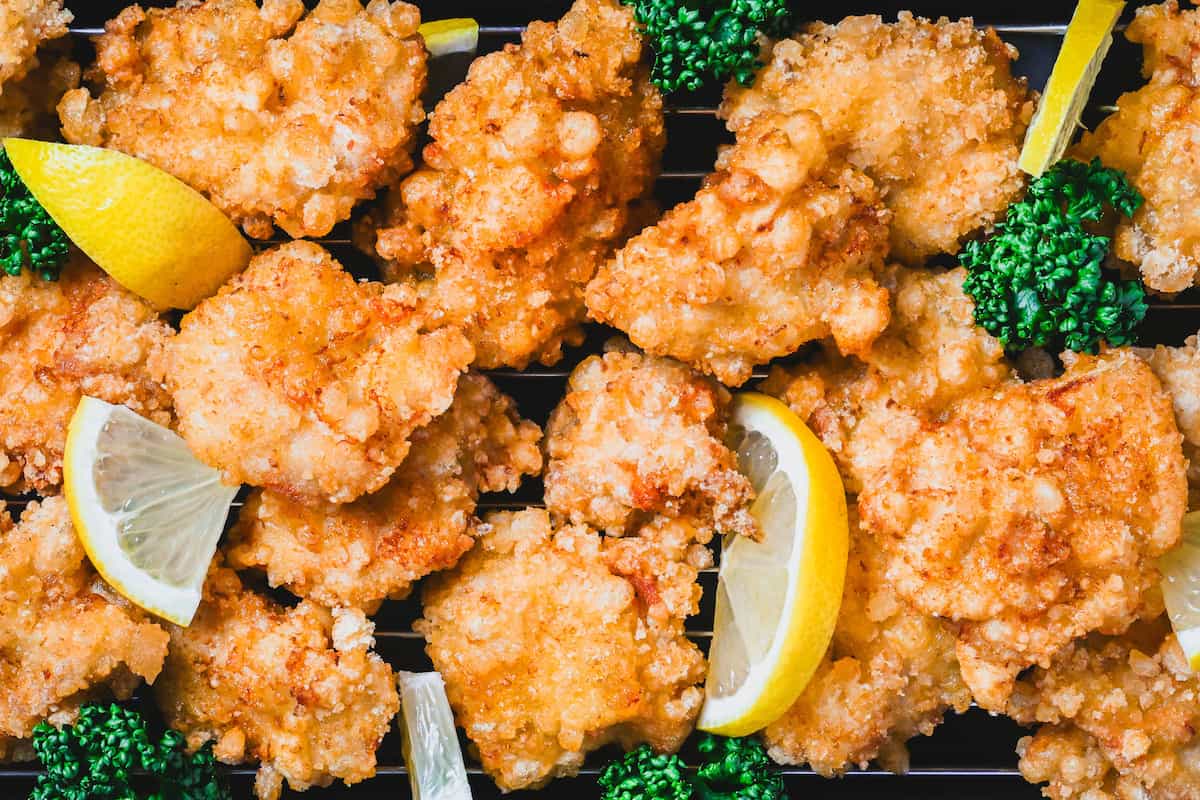
- What is it? Crispy Japanese chicken breast karaage with a lemon-kissed crunch.
- Flavor profile: Zesty, Savory, Crisp.
- Why you’ll love this recipe: It turns your bulk-bought chicken breasts into a restaurant-worthy karaage that stays juicy, solving the dryness anxiety.
- Must-haves: Starch, Fresh lemon, Fresh ginger
- Skill Level: Medium
- Freezer Friendly? Yes!
- Suitable for Meal Prep? Yes!
Summarize & Save this content on:
What is Chicken Breast Karaage?
Chicken karaage is Japan’s answer to bite-sized fried chicken, juicy, well-seasoned pieces coated in starch and fried until crisp. It’s the foundation for many other beloved variations, like tatsuta age and chicken nanban.
While thigh meat is the usual choice for karaage because it stays moist and is much more forgiving, this recipe spotlights chicken breast for a leaner, lighter take. With the right marinade and a clever double-fry method, you can still achieve that signature crunchy shell and tender bite!
Chicken Breast Karaage Ingredients

- Chicken breast (skin-on preferred): Using skin-on chicken breast gives you that juicy interior with a thin layer of crispness.
- Tapioca starch: Potato starch or cornstarch work just as well if that’s what you already have. Potato starch gives an airy crisp, while cornstarch leans a bit more brittle.
- Lemon (juice + zest): Fresh lemon is what makes this version shine. It cuts through the fried coating with a bright pop and leaves a clean finish. If you want to skip the lemon flavor, sub for a sprinkle of water instead.
How to Make My Chicken Breast Karaage
If you prefer to watch the process in action, check out my YouTube video of this chicken breast karaage recipe!

i. Lay the boneless chicken breasts flat and slice them into long thick strips.
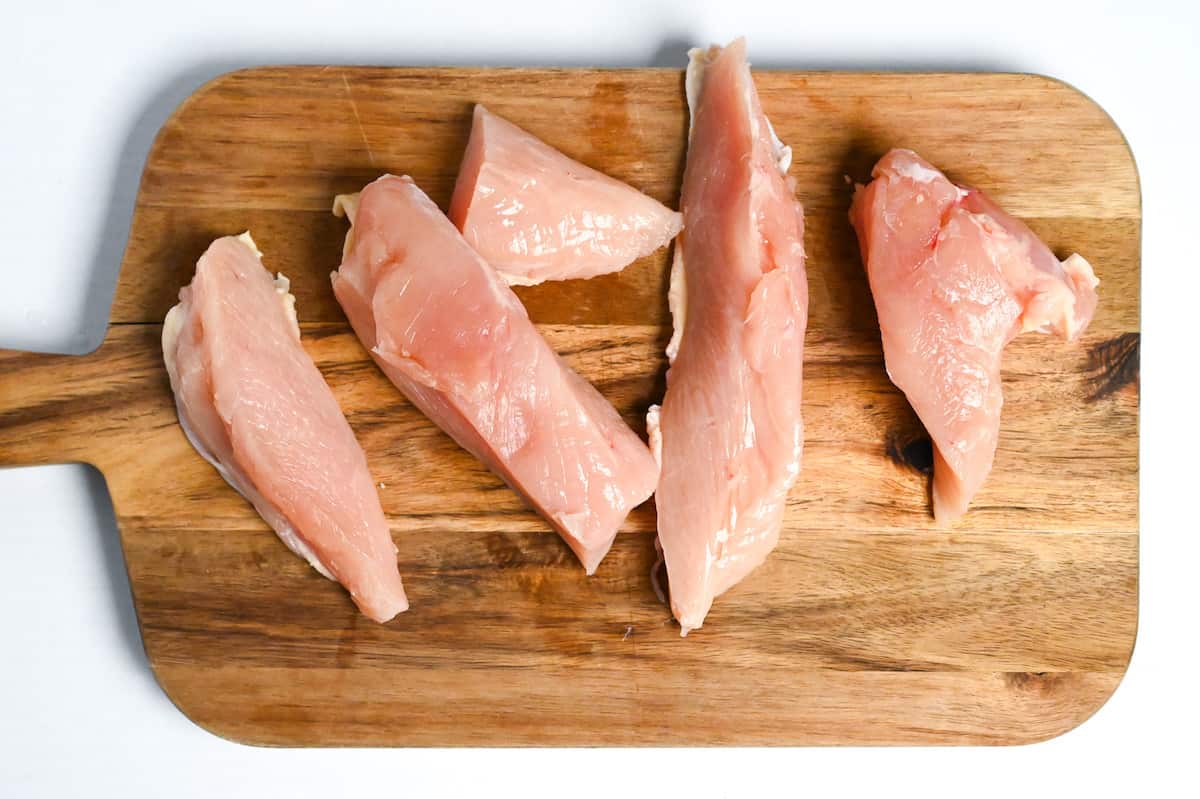
ii. Lightly prick each piece 3-4 times per side with a fork; don’t saw or shred. Gentle, even pricks are enough. This speeds seasoning into lean meat without changing the shape.
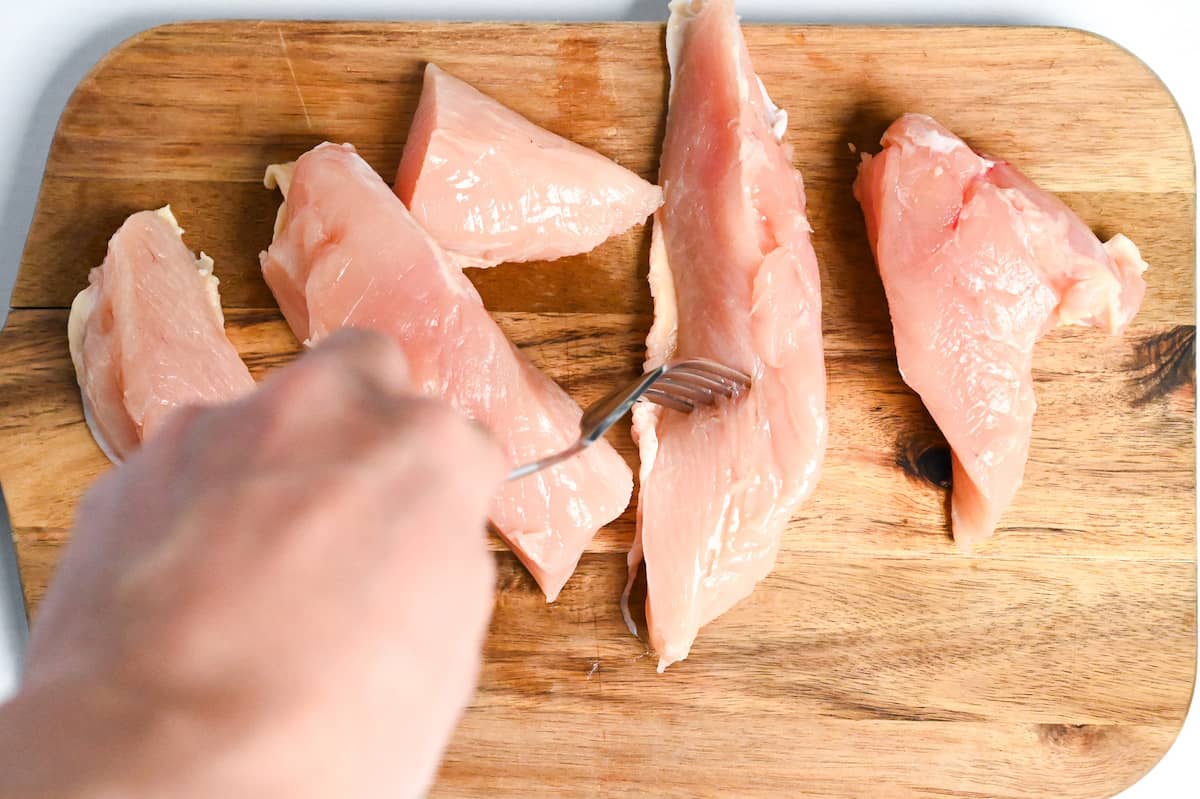
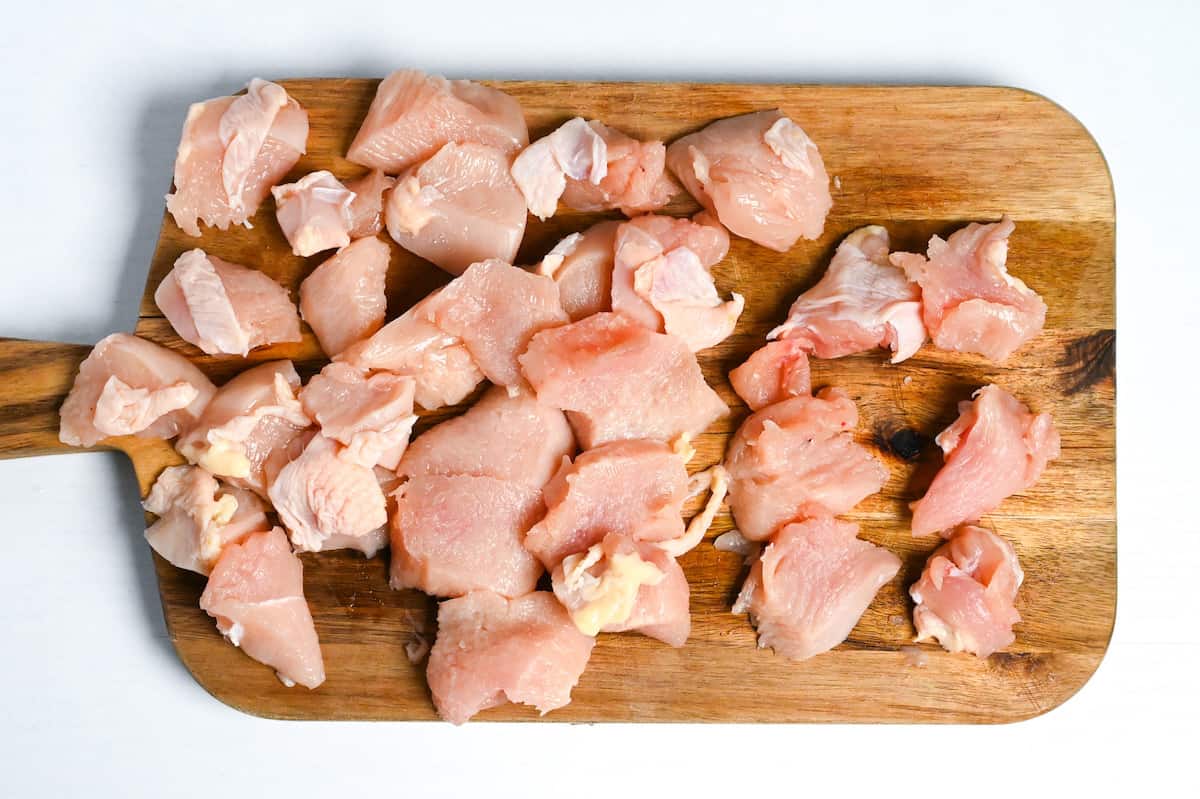
iii. Then cut each strip on a shallow diagonal (against the grain) into large bite-size pieces. Keeping pieces a similar thickness helps them cook evenly so the centers reach doneness without the exteriors over-browning.
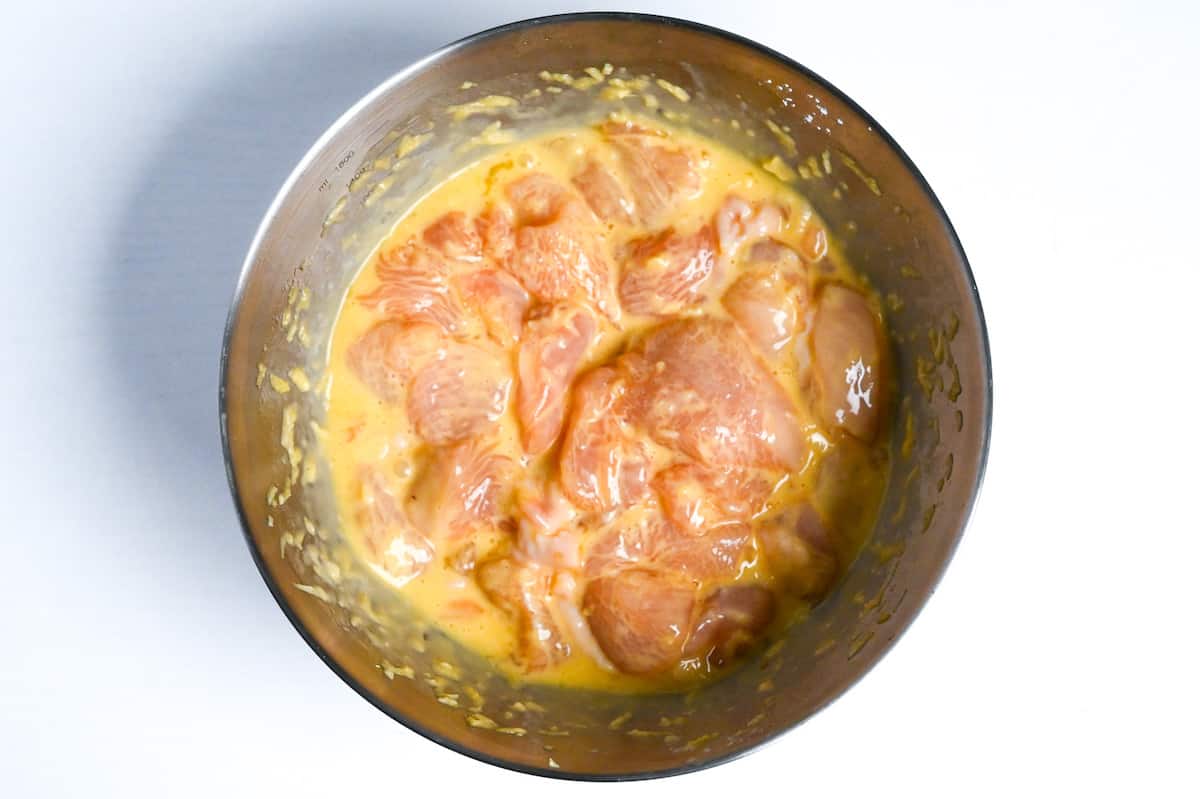
i. In a bowl, add the chicken, crack in an egg, and mix until every surface looks glossy.
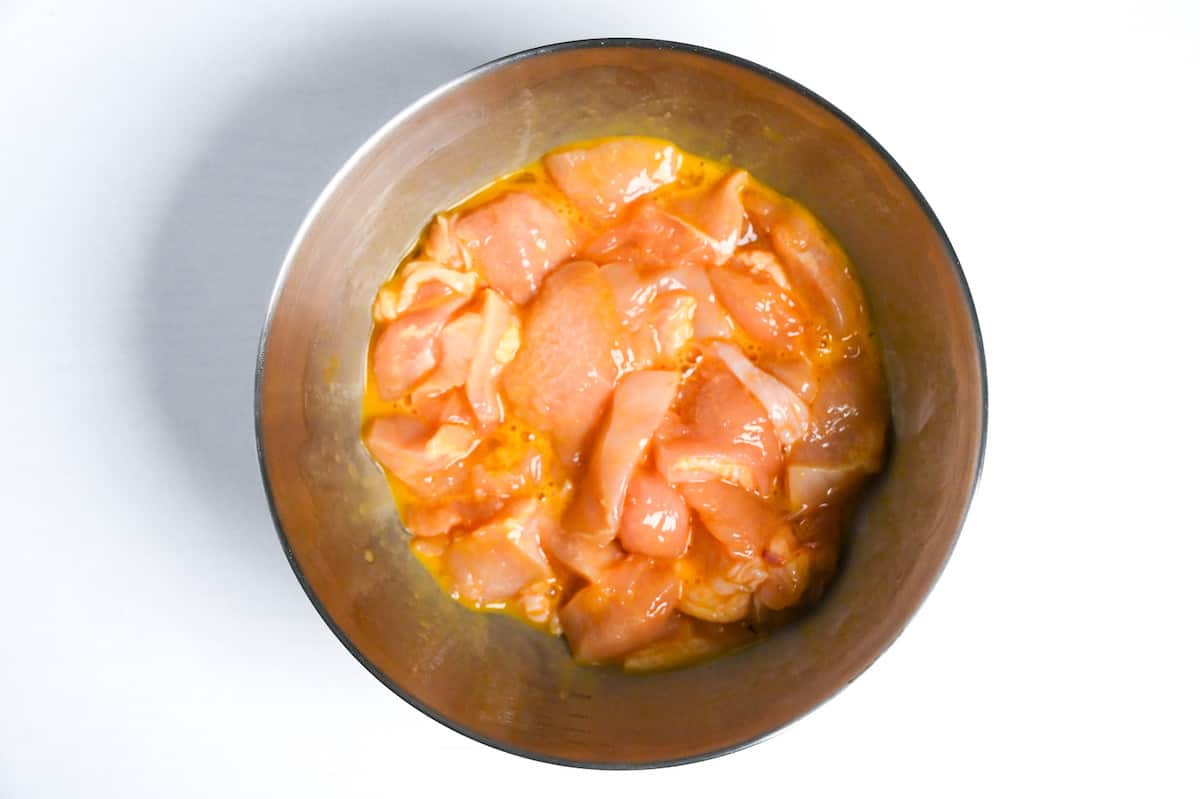
ii. Add sake, sugar, grated ginger and garlic, salt, and a touch of sesame oil.
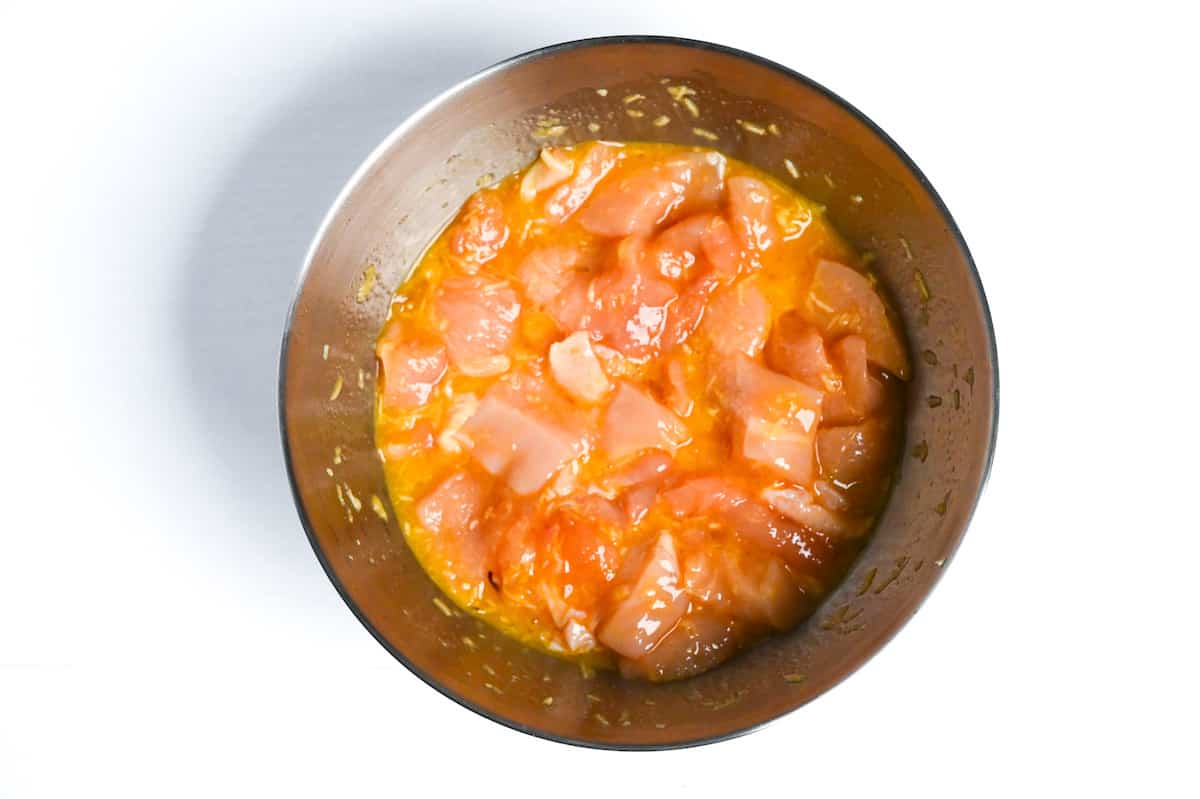
iii. Sprinkle in tapioca starch and fold until the marinade turns lightly creamy and coats the pieces.
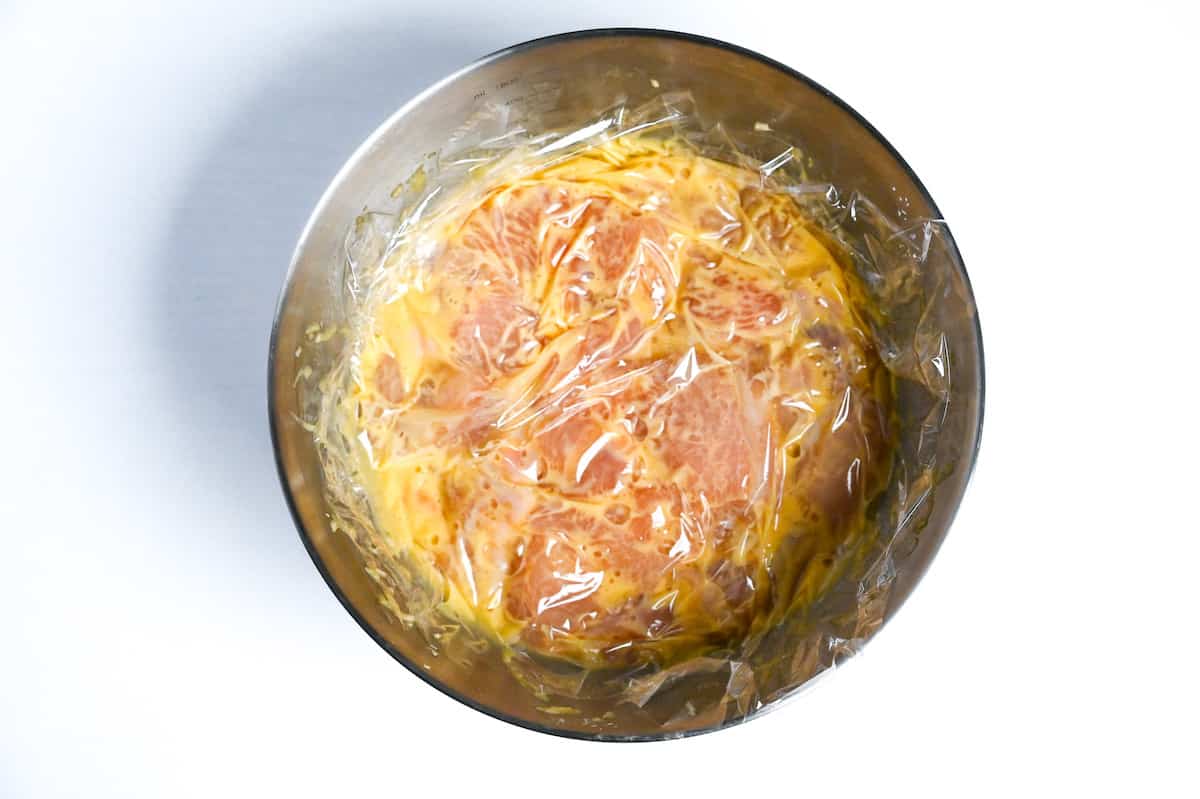
iv. Cover and refrigerate 30 minutes to hydrate the coating and relax the proteins.
The combo of egg + starch forms a thin protective gel that buffers high heat, keeps breast meat silky, and helps the final sauce or seasoning cling. A short, chilled rest (about 30 minutes) is enough for that micro-coating to set without turning pasty. Consider this your quick confidence win before the fry.
i. While the chicken marinates, combine 4 parts tapioca starch to 1 part lemon juice plus lemon zest.
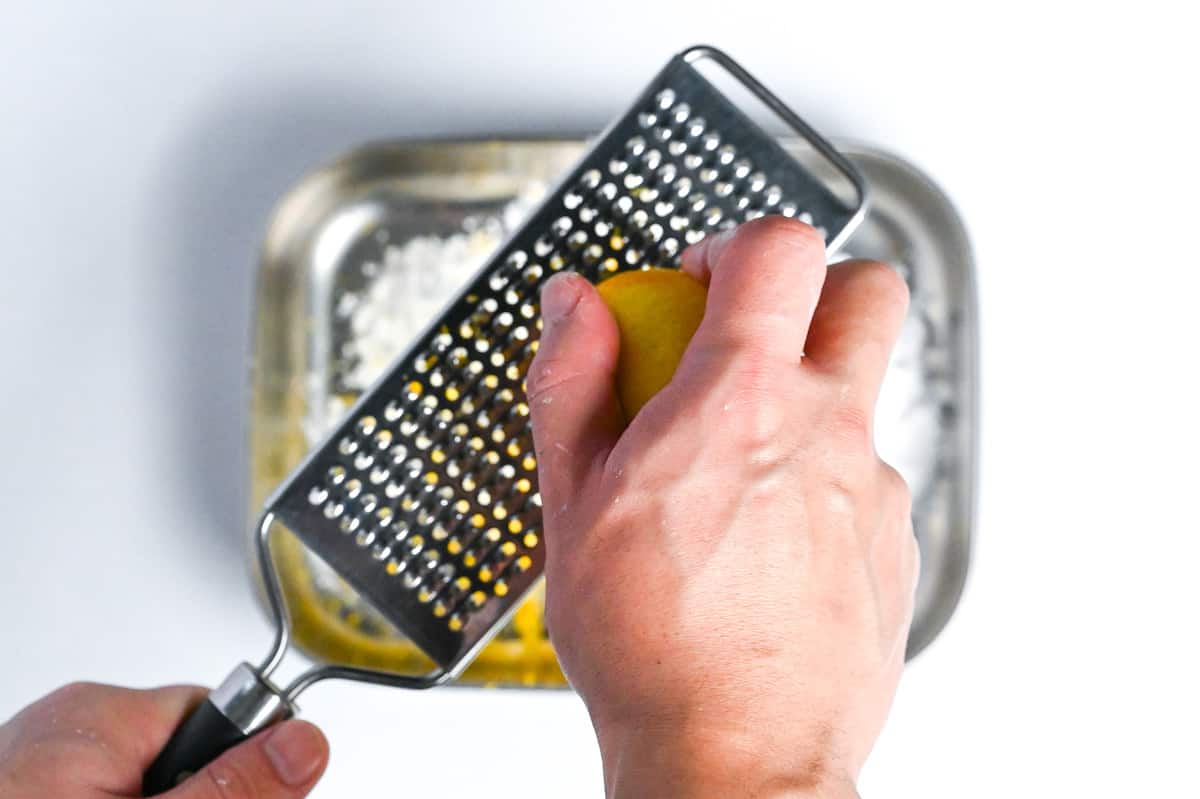
ii. It will clump into pale “glaciers.” Let it sit 1 minute so the starch hydrates.
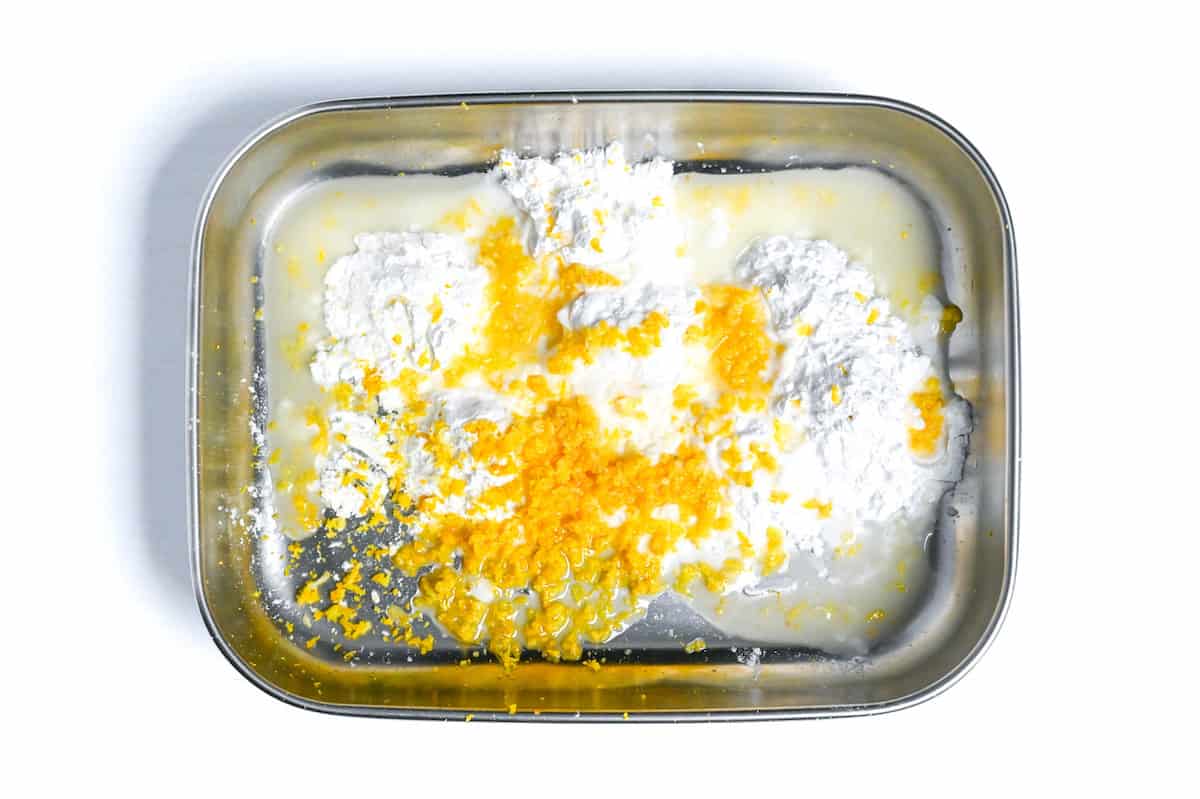
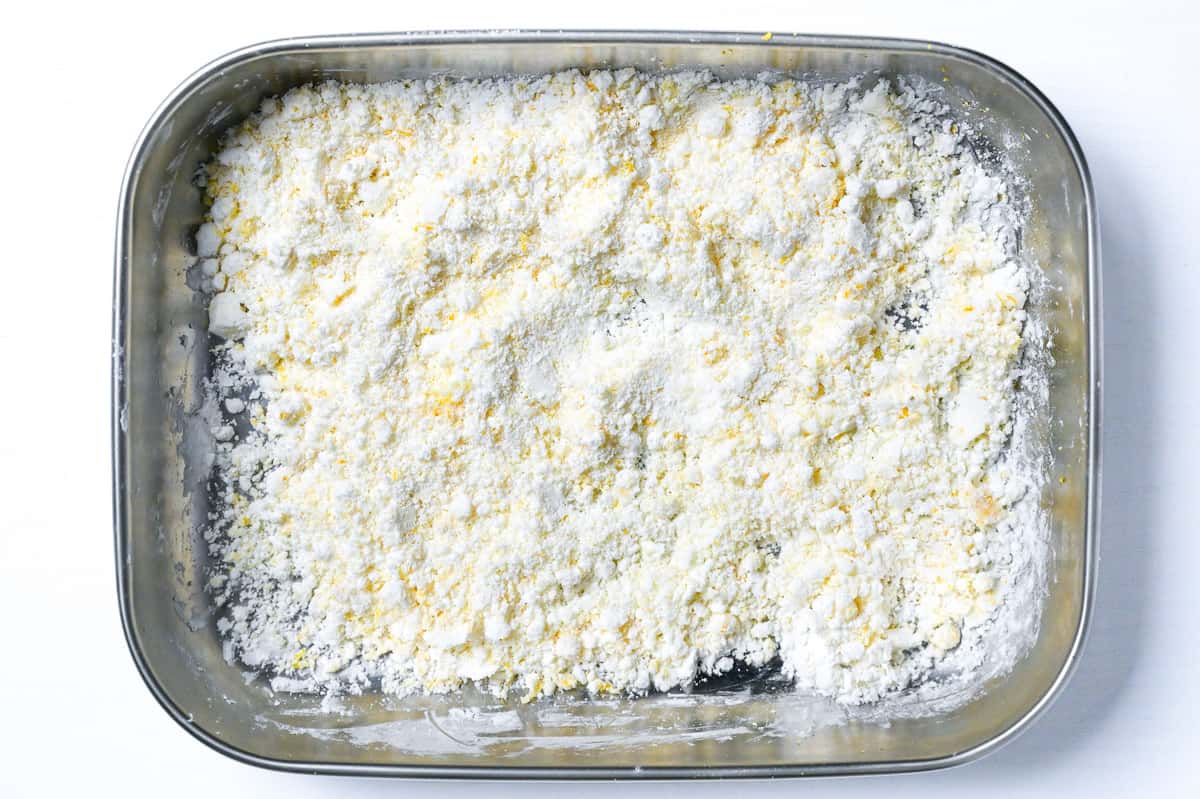
iii. Then use a fork to break it up and your fingertips to rub and scrunch it into fine, powdery “hailstones.”
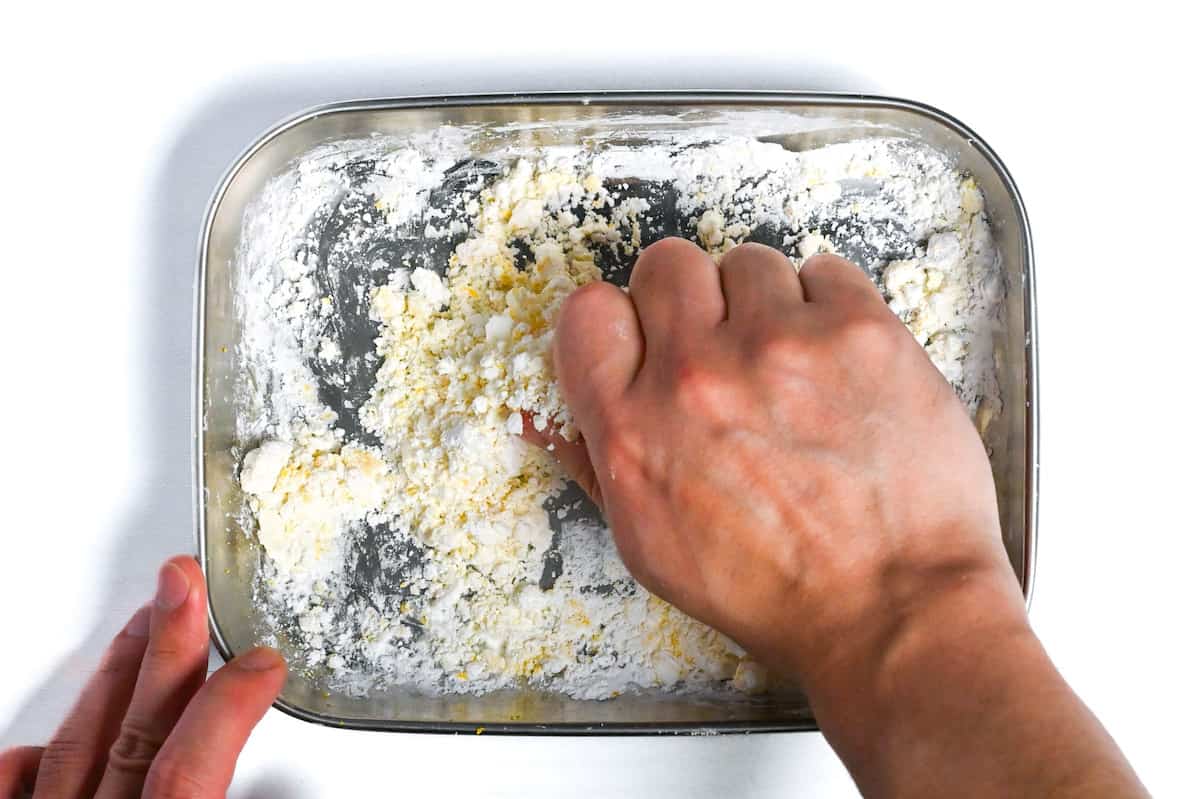
iv. You’re aiming for light, sandy granules that feel dry but squeeze into soft clumps. If you have tried my Authentic Karaage fried chicken thigh recipe, you probably know that adding a small quantity of water and starches creates a unique texture I like to call the “Hailstone Effect.”
In this recipe, I have replaced water with lemon juice and added lemon zest to the starch to create a citrusy batter. This updated version of the Hailstone Effect adds a delicious citrus twist to the recipe!
Tapioca delivers a thin, glassy shatter; potato starch makes a slightly thicker, sandier crunch. Both work beautifully here. If you run short during the last batch, remake the “hailstones” at the same 4:1 starch-to-lemon ratio and keep going.
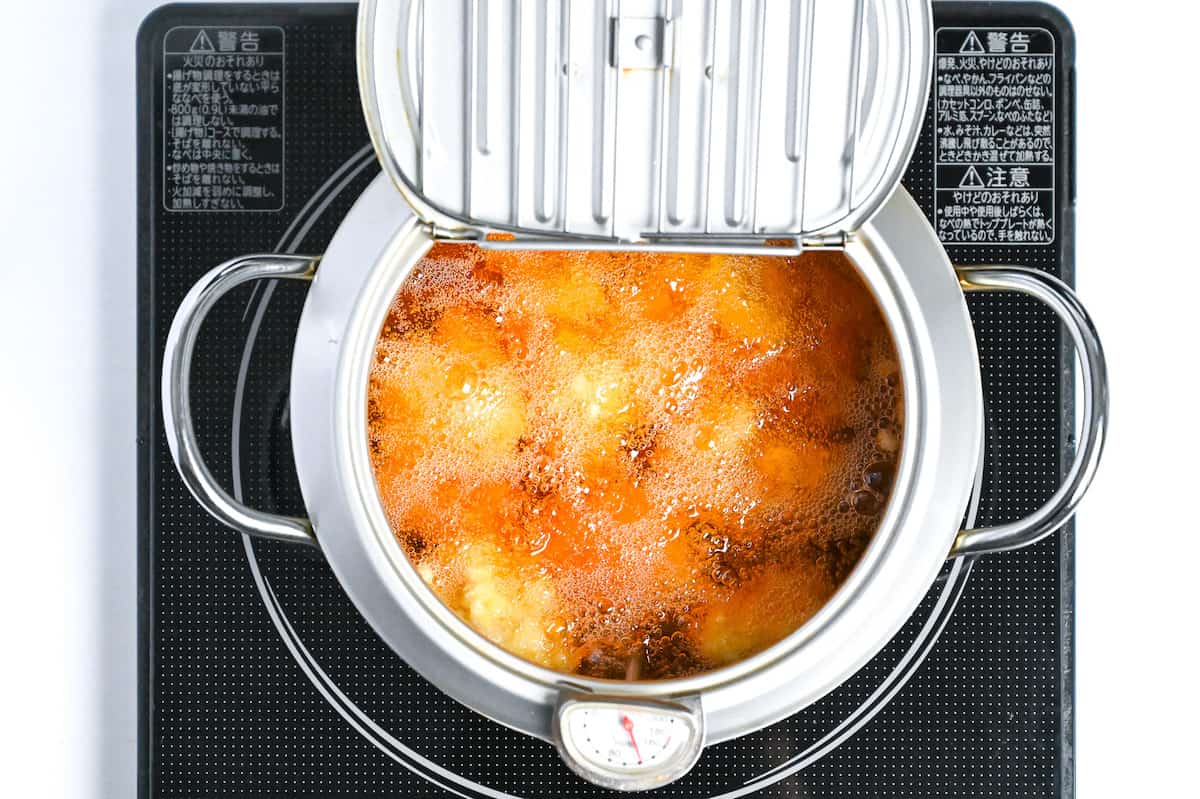
i. Pour neutral oil into a deep skillet or pot and heat to 160℃ (320°F). If you don’t have a thermometer, drop in a pinch of the “hailstone” coating. It should sizzle softly, and float up within 2-3 seconds with gentle bubbles, that’s your green light. Keep a wire rack set over a tray nearby for draining.
ii. Roll each piece of marinated chicken in the lemon-starch hailstones, pressing so the crystals adhere, then drop them into the pot. Fry at 160℃ (320°F) for 3 minutes, adjusting the heat to hold temperature. Be careful not to overcrowd the pan, the chicken pieces should float in a single layer in the oil.
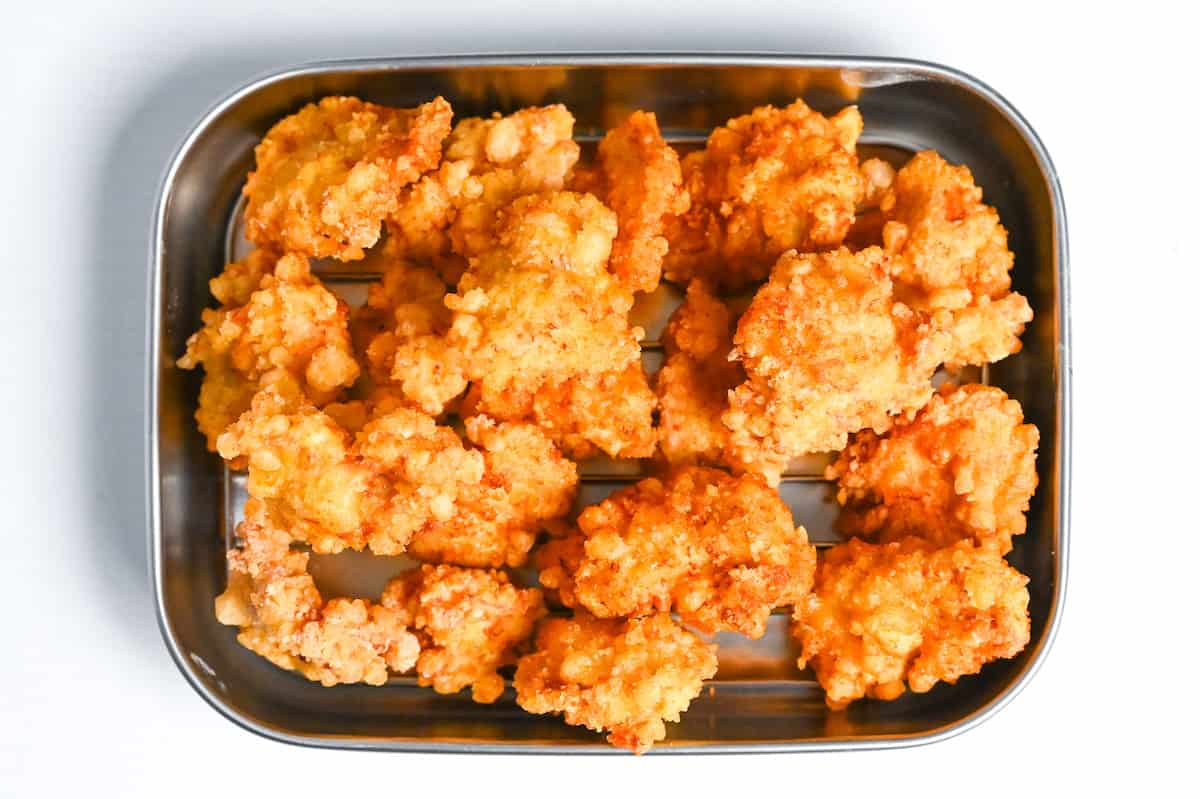
iii. Transfer to the rack and repeat in 2-3 batches so the oil stays lively. Let the fried pieces stand on the rack for 3-5 minutes.
Resting leverages carryover heat to finish cooking evenly, then sets you up to expel surface moisture during the final fry for a lasting crunch.
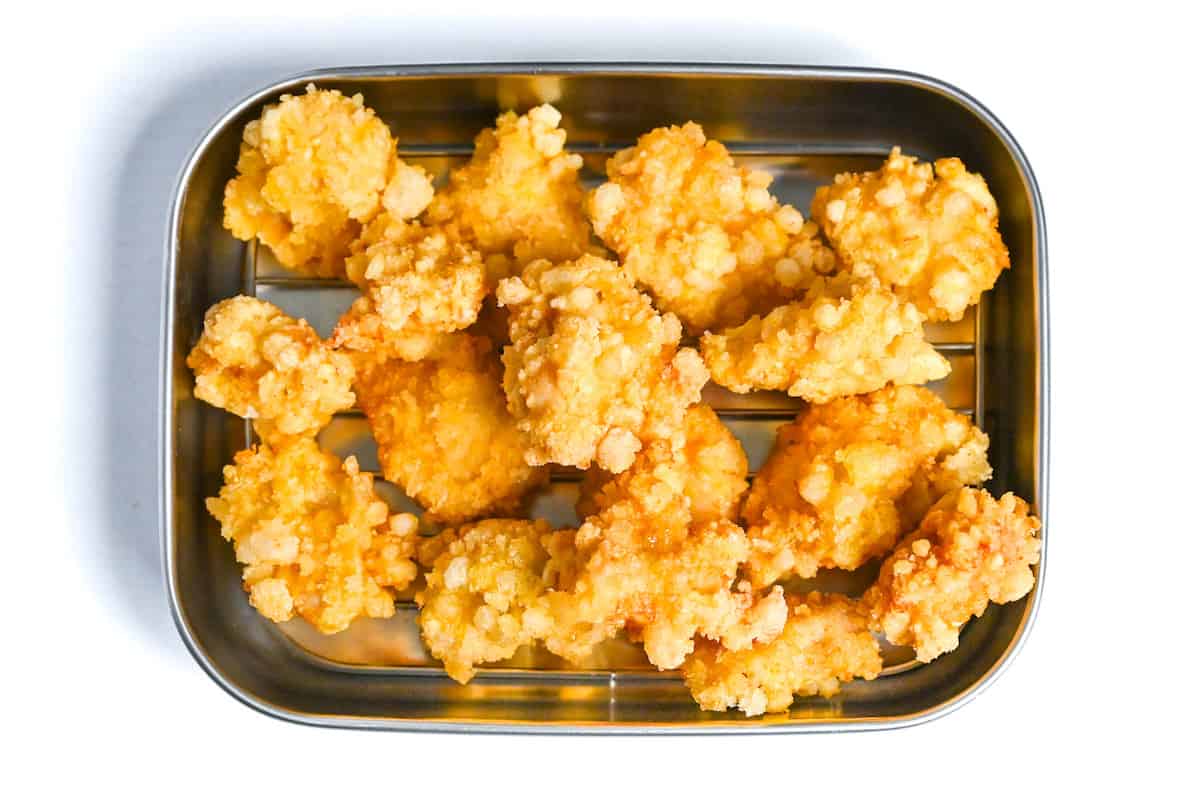
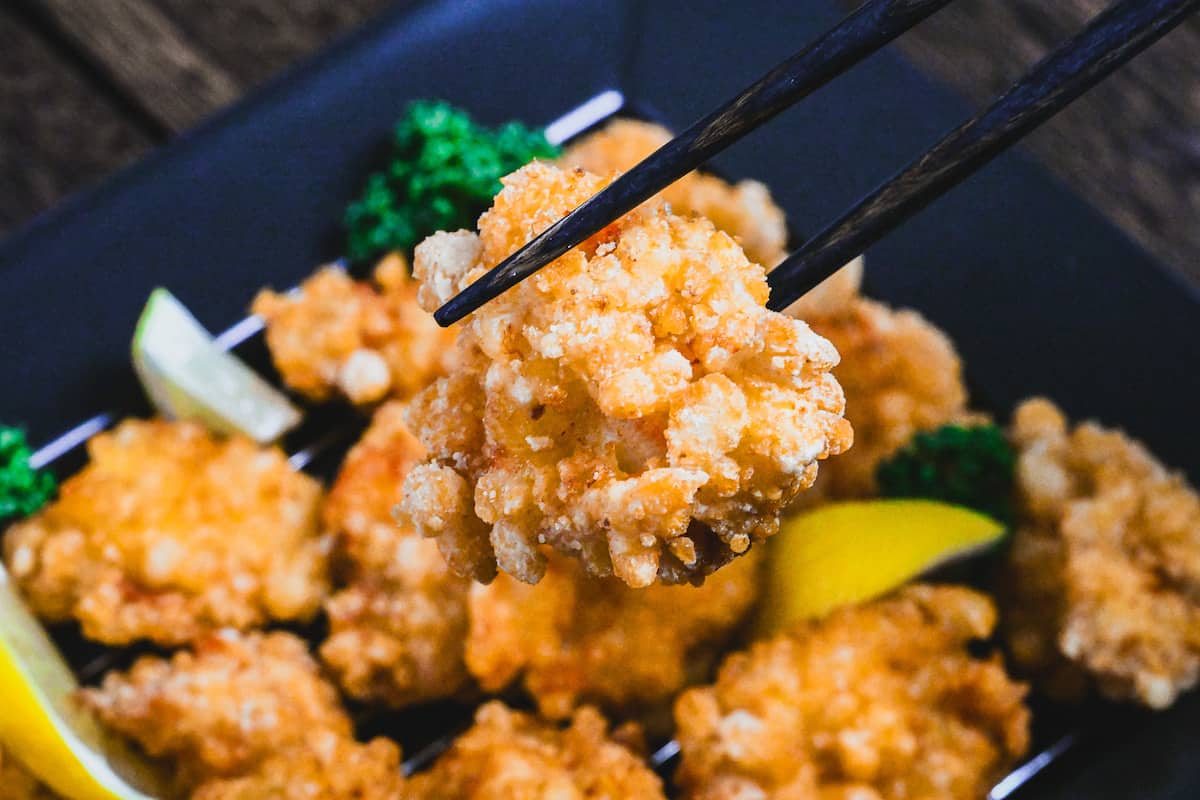
i. Increase oil to 180℃ (356°F) and return the rested chicken to the oil for about 1 minute until deep golden and audibly crisp.

ii. Work in quick batches so the oil rebounds. The sizzling will sound sharper and the pieces will feel lighter as trapped steam escapes.
iii. Lift the pieces to the rack and let excess oil drip for 30-60 seconds. For safety, spot-check one thick piece at 74℃ (165°F) before serving.

Essential Tips & Tricks
- Don’t skip the fork-piercing step. Those shallow punctures give muscle fibers room to relax during cooking.
- Be careful not to add too much liquid to the starch, you want “hailstones”, not a batter. If it gets too wet, fix it with extra starch.
- Use a thermometer for oil temperature. Frying at 160°C (320°F) for the first round and 180°C (356°F) for the second is critical.
- Always rest between fries. That 3 to 5 minute pause lets residual heat finish cooking the interior while surface moisture escapes.
With these simple tips in mind, you’re set for success every time you make chicken breast karaage.
Storage & Meal Prep
Fridge: Store cooled karaage in an airtight container for 2-3 days maximum.
Freezer: Freeze cooked karaage for 3-4 weeks.
Meal Prep: You can marinate the chicken up to 12 hours ahead and refrigerate covered.
Reheating: Oven or air fryer is the best method. Preheat to 180°C (356°F). Arrange karaage in a single layer and heat for 8 minutes from the fridge, or 12 minutes from frozen (no need to thaw).
What to Serve With This Recipe
Chicken Breast Karaage Q&A
Overcooking is the primary culprit. Chicken breast proteins tighten dramatically between 60-65°C (140-149°F), squeezing out moisture. Sticking with my double-frying method with resting inbetween is very important for this recipe. Marinating with salt, sake, or enzymes (like grated ginger) beforehand helps the meat retain moisture.
Your oil is too hot. Sugars in marinades caramelize quickly above 170°C (338°F), causing premature browning. Start frying at 160-170°C (320-338°F) to allow the interior to cook before the exterior darkens.
Low oil temperature is usually to blame. Below 160°C (320°F), the coating absorbs oil instead of crisping. And avoid overcrowding the pan, which drops the temperature. After frying, rest the chicken on a wire rack, never paper towels or a covered plate, which trap steam and soften the crust.
More Japanese Appetizer Recipes
Looking for something sdelicious? Check out my easy Japanese appetizers that are perfect for entertaining!
Did You Try This Recipe?
I would love to hear your thoughts!
💬 Leave a review and ⭐️ rating in the comments below. 📷 I also love to see your photos – submit them here!

Ultimate Chicken Breast Karaage with Lemon
Ingredients
- 450 g chicken breast skin-on, thighs work for juicier meat
- 1 egg
- 3 tbsp sake or dry sherry, white wine
- ½ tsp sugar
- ½ tbsp grated ginger root or ginger paste
- ½ tbsp grated garlic or garlic paste
- 1 tsp salt fine sea salt or kosher
- 1 tsp toasted sesame oil
- 3 tbsp tapioca starch for marinade
- 8 tbsp tapioca starch or potato starch
- 2 tbsp lemon juice
- ½ tbsp lemon zest
- cooking oil for deep frying, neutral oil like canola, peanut, or rice bran
My recommended brands of ingredients and seasonings can be found in my Japanese pantry guide.
Can’t find certain Japanese ingredients? See my substitution guide here.
Instructions
- Cut 450 g chicken breast into stick-like pieces about 3-4cm thick (approx 1½ inches) and pierce each piece thoroughly all over with a fork.

- Cut each stick into large bitesize pieces, cutting against the grain at an angle to increase the surface area of each piece.
- Place the chicken into a bowl and crack in 1 egg. Mix well until the egg yolks and whites have combined and the chicken is coated.
- Add 3 tbsp sake, ½ tsp sugar, ½ tbsp grated ginger root, ½ tbsp grated garlic, 1 tsp salt abd 1 tsp toasted sesame oil and mix well.
- Add 3 tbsp tapioca starch of mix until combined and creamy-looking. Then cover the mixture with plastic wrap and marinate in the refrigerator for 30 minutes.
- Start heating your cooking oil to 160 °C (320 °F). While you wait, add 8 tbsp tapioca starch, 2 tbsp lemon juice and ½ tbsp lemon zest to a container and mix with a fork. Scrunch the mixture in your palms to make small clumps of starch.
- Roll each piece of chicken generously in the starch mixture, pressing it down to secure. When the oil is hot enough, add the coated chicken and fry for 3 minutes for the first fry.
- Transfer to a wire rack and rest for 3-5 minutes, the chicken will continue to cook in the residual heat. If you're cooking in multiple batches, you can use this time to cook the next batch.
- Increase the heat of the oil. Once it reaches 180 °C (356 °F), place the chicken in the pot once more, this time frying for 1 minute or until crispy and golden.
- Transfer to a wire rack, this time to drain the excess oil. Serve and enjoy!
Thank you, Yuto, for this wonderful Karagga chicken. My husband enjoyed it so much,he asked to prepare it again tonight. Everything went very smoothly until I tried your Hailstone effect. The cornstarch – no tapioca on hand – and lemon juice stuck to the pan, so I added more juice and even a bit of water to scrape it up. It was almost liquid, so I will try again, using more cornstarch to make it easier to form around the chicken. My first attempt two nights ago was DELICIOUS.
Hi Joyce,
Thank you for your comment! I’m happy to hear you both enjoyed the karaage, that really makes my day! The Hailstone effect can definitely be a bit tricky depending on the starch. As for the starch choice, cornstarch is a good alternative too, but if potato starch is readily available in your area, I think you’ll find it a bit more forgiving. I hope you guys will enjoy this again! 🙂
Yuto
Hi Yuto, the recipe looks delicious! Can you also cook the Karaage in an air fryer? If so, do you have any recommendations? Thanks, Sarah
Hi Sarah,
Unfortunately, I’m not sure this batter will translate well to the air fryer. It probably won’t be bad, but my guess is it’ll come out quite dry. I’m actually experimenting with all kinds of air fryer recipes right now, including karaage, so stay tuned for updates! 🙂
Yuto